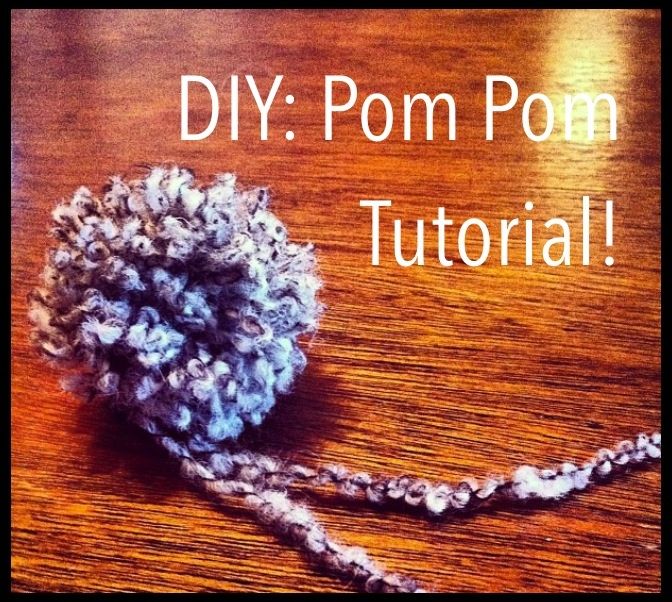
Hello lovelies! So having stayed on a very wet and windy Mull over new year, it's been a pretty crafty Christmas! One of my favourite quick makes is the pompom, so thought I'd share in case you don't know how!
Things you'll need:
Yarn
Scissors
Cardboard
1. Cut two circles from the card. In each of these circles cut a v and a smaller circle.
- the larger your circles, the larger your pompom will be
2. Lay a 10-15 inch piece of yarn around one of he circles, and place the other circle on top. This is the piece of yarn which you will tie to hold your pompom together!
3. Begin to wrap your yarn around the circles. The more yarn you wrap around the thicker your pompom will be.
4. Once you're done wrapping, tie your middle string in a knot, and draw it closed (don't worry if it doesn't close the hole in the centre all the way just yet).
5. Cut your yarn around the circle, placing your scissors between the two card circles.
6. Now draw that middle string tight! Add an extra knot to secure the pompom.
7. Remove the card and give the ball a little ruffle - one pompom! You can trim any long pieces of yarn if you like, but I tend to leave mine.
Hope that was clear for you guys! Send me pictures of your little pompoms!!
Did you get up to much crafty goodness over the holidays?
Have a lovely day!
Amanda x


No comments:
Post a Comment