I've taken far too many photos and written some instructions so you can make one too!
Been on nightshifts this week, and I am finding it very difficult to sleep when it's so sunshiney outside! Sunshiney free time is for wandering outside with new red-riding hood and fox themed knitting baggies...

You will need:
- any size of fabric, depending on the size of bag you want. This one (which ends up roughly the same size as a sheet of A4 paper) began as a fabric quarter.
- ribbon or string for drawstring
- scissors
- needle & thread / sewing machine
1. Since I've used a quarter, I just folded this in half inside out, but you can also cut two rectangles and pop these together (right sides facing). The quarter was too long, so I chopped off around 5 inches from the top - my bag fabric at this point measured approximately 55 x 35 cm each side.
2. Pin around the bottom and open side(s) of your bag.
3. If you have folded a piece of fabric, cut ~3cm down the folded seam at the top of the bag, to allow you to fold the brim down to form a track for your drawstring. When sewing your sides together, remember not to sew into this 3cm flap area, as it needs to allow your drawstring to pass out the side!
4. After sewing the sides and bottom, pin down the top flaps to make your drawstring track. Remember not to pin these right through both sides! They only need to be sewn onto one side of the bag! - you don't wanna go sewing your bag shut. Sew these flaps down - remembering to sew them only onto the side they're on and not to close the small gaps at the sides as your string will need to pass through here.
 |
| Stop here! Don't sew the drawstring track shut! |
 |
| I apologise for the terrible nail-polish job... |
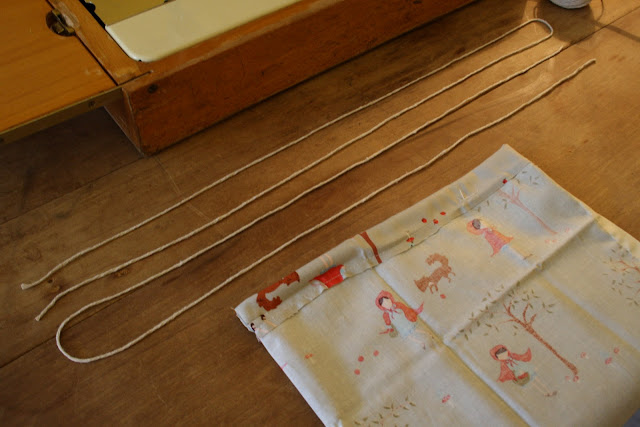
5. Cut two lengths of drawstring, each should be around 2x as long as the circumference of the bag (mine were ~1metre each, but this could probably be smaller).
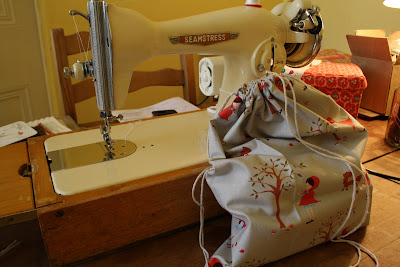
6. Feed your string through the drawstring track. TIP: tie the string to a knitting needle and pop this easily through the track, drawing your string with it! Thread one in a loop through from left to right in the front track, and right to left in the back track. Thread the other in the opposite direction (right to left in front track, left to right in back track).
7. Tie your drawstrings into a knot at the ends, turn your bag the right way round, and pull! One project bag!
If you make a project bag, please do send me in your links and photos! Just pop a comment below or e-mail me if you'd like me to pop a link onto the page!
Aaaa is so cute! I'ma gonna go stare at it again for a wee while...
I've also made a couple of other pretties, but we shall save those for another day :p


Super cute and it looks simple to make!
ReplyDeleteLove it! The fabric is so cute!
ReplyDeleteI KNOOOOW! I can never resist cute pieces of fabric!
DeleteCool..going to make one :)
ReplyDeleteYey! Uave you made it yet? You'll have to show me when you do :D
Delete